Steps to Fix Class Not Registered Error
See these steps to fix the “Class Not Registered” error.
Run System File Checker (SFC) and Deployment Image Servicing and Management (DISM)
These built-in Windows utilities scan and repair corrupted system files, including DLL files.
Open Command Prompt as an administrator
-
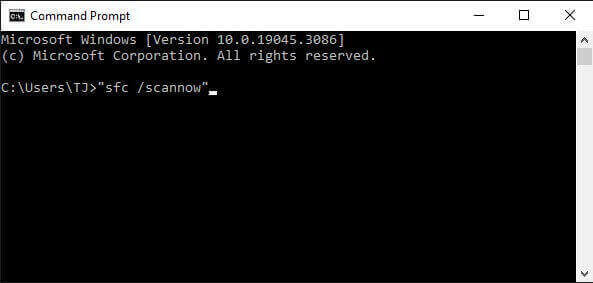
Enter the commands “sfc /scannow”
-
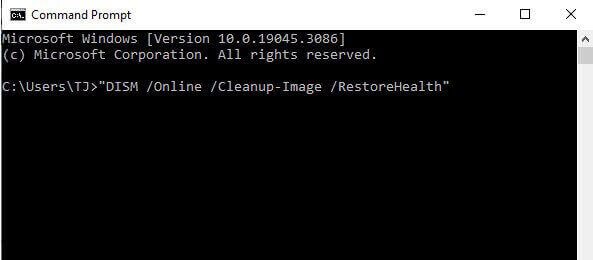
The next step is to enter the “DISM /Online /Cleanup-Image /RestoreHealth” command.
Let the process complete, and then check if the error persists.
Force Close and Reopen File Explorer
Right-click on the “Start” menu icon and select “Task Manager.”
-
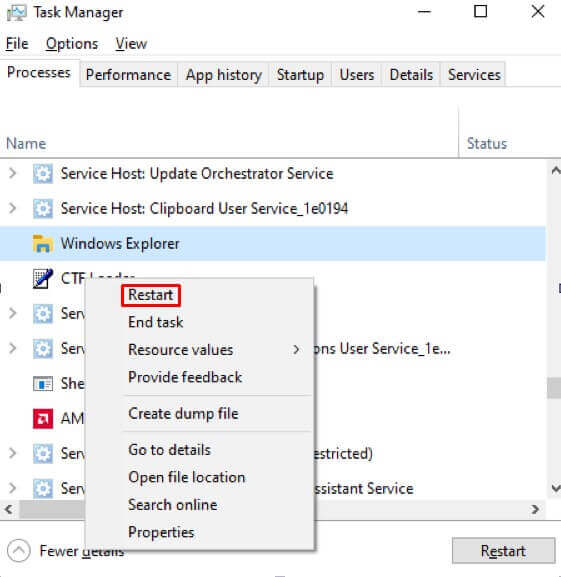
In the Task Manager window, locate “Windows Explorer,” right-click on it, and choose “Restart.”
From the menu options, select “Restart.”
File Explorer will promptly close and then automatically reopen.
Re-register DLL files
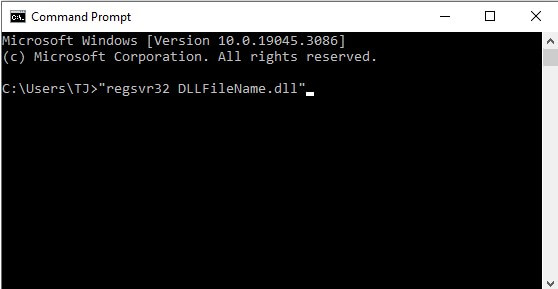
If the error is related to a specific DLL file, you can try re-registering it using the Command Prompt. Open Command Prompt as an administrator and type “regsvr32 DLLFileName.dll” (replace “DLLFileName.dll” with the name of the DLL causing the error). Press Enter and check if the issue is resolved.
Reset Windows default apps
If you encounter the “Class Not Registered” error when launching File Explorer, the problem may be related to one or more of your default apps. In such cases, resetting all default apps can often resolve the issue.
For Windows 11 users, follow these steps:
Open the Settings app.
Navigate to “Apps” and click on “Default Apps.”
-
Look for the option “Reset All Default Apps” and click on “Reset.”
A prompt will appear asking for confirmation. Click “OK.”
For Windows 10 users, follow these steps:
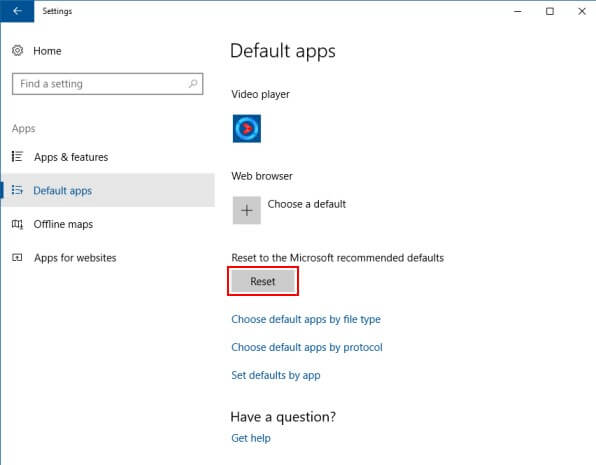
Open the Settings app.
Go to “Apps” and click on “Default Apps.”
-
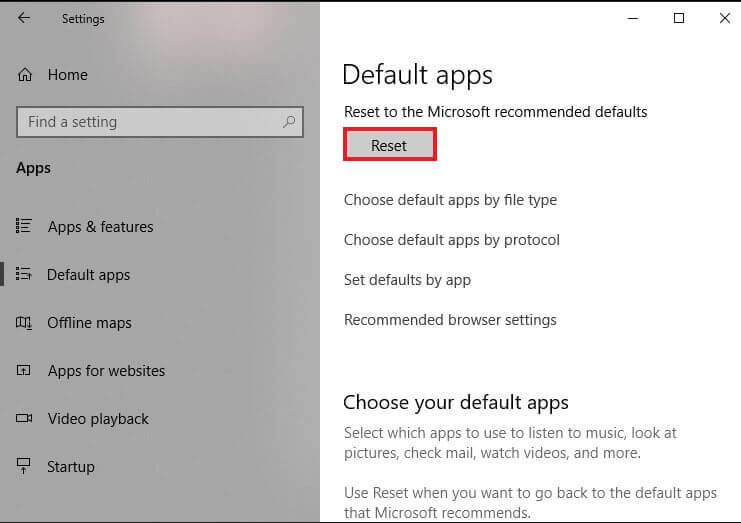
Scroll down to the “Reset to the Microsoft Recommended Defaults” section.
Click on the “Reset” button.
After resetting the default apps, try launching File Explorer using the Windows+E keyboard shortcut, and it should now function properly.
Perform a system restore
If the error has recently started occurring, performing a system restore to a previous point when the error was not present might help. Access the System Restore utility through the Control Panel or by searching for “System Restore” in the Start menu.
We’ve covered in-depth how to perform Windows “System Restore” in this article here
Re-Register Your Microsoft Store Apps
Open the “Start” menu.
Locate “PowerShell” and right-click on it.
Select “Run as Administrator” from the context menu.
When the “User Account Control” prompt appears, click “Yes” to grant the necessary permissions.
-
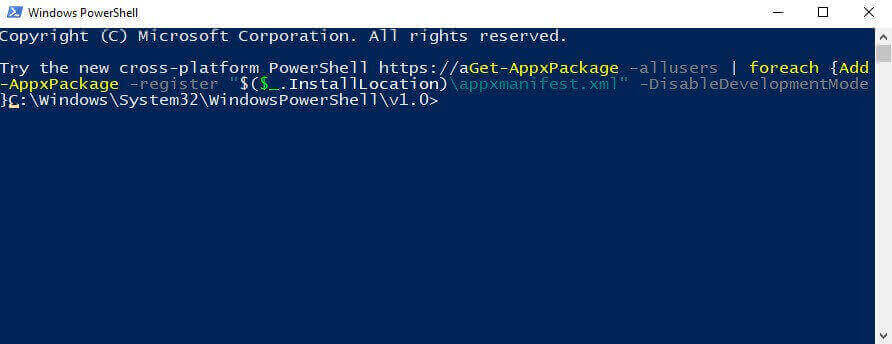
Once you have the PowerShell window open, enter the following command and press Enter:Get-AppxPackage -allusers | foreach {Add-AppxPackage -register “$($_.InstallLocation)\appxmanifest.xml” -DisableDevelopmentMode}
This command will re-register all your Store apps for all users on your PC.
Allow the process to complete, which may take a few moments. Once done, try launching the Microsoft Store app that previously triggered the error, and it should now open without encountering the “Class Not Registered” error.
Reinstalling and re-registering Store apps can help resolve various issues, ensuring smooth functionality and a hassle-free experience when using Microsoft Store apps.