Assembly Instructions for VTube-LASER-iMC 3500L Table System
These are the instructions for assembling the VTube-LASER iMC 3500 Lite table system.
1) Place tables next to each other. The tables are labeled left and right. 2) Adjust the foot pads so that the table tops are parallel and at the same height. 3) Install connector plates with dowels into T-slots. Use the M8x20LG button head screws.
4) Place the rail on the table, but do not bolt it to the table at this point | 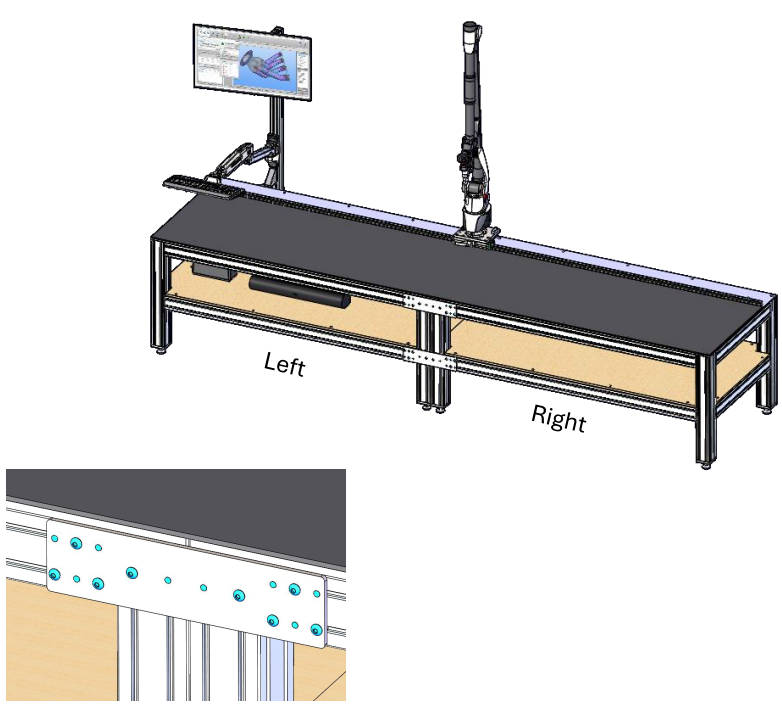 |
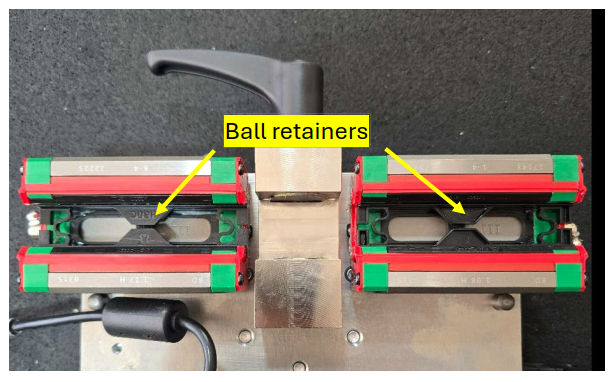
1) Hang the rail off the end of the table. 2) Slide the arm carriage onto the rail. 3) Let the rail push the black ball retainers out as the carriage is slid onto the rail. 4) The handle should be facing the front. 5) See the video for reference. 6) Attach the rail to the tables with the M8x20LG socket head screws
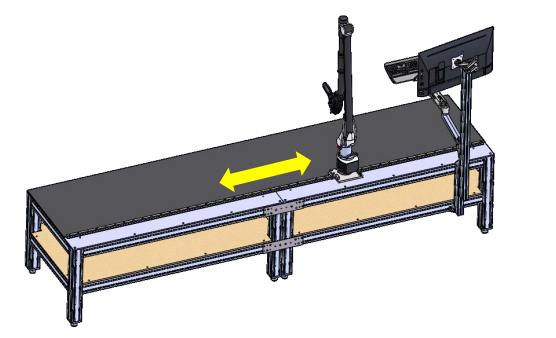 |  |
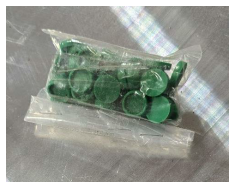
Install the green screw caps once all screws are in place and the carriage has been tested for full travel.
|  |
1) Install the cable track with the cable in it. 2) The ends that connect to the arm go on the carriage. 3) The bolts for each end are in their respective locations. 4) Plug the power cable into the power brick attached to the carriage. 5) The rail setup is now complete. | 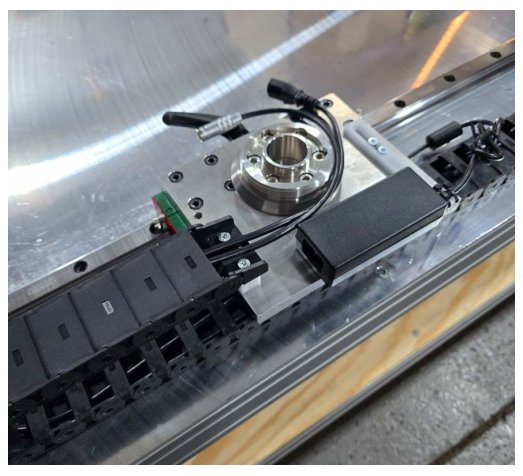 |
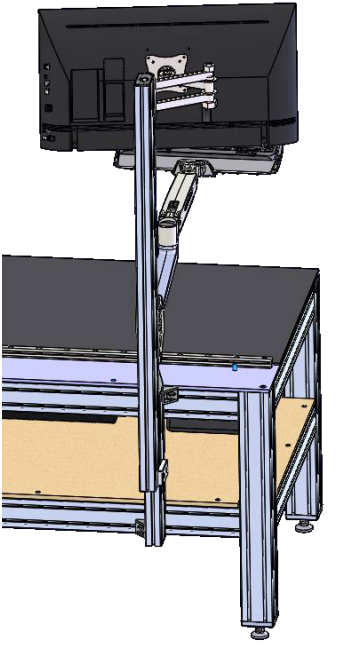
Attach the TV and keyboard stand to the rear of the left table.
|  |
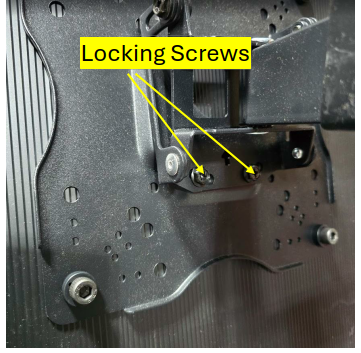
Install the TV on the TV mount.
|  |
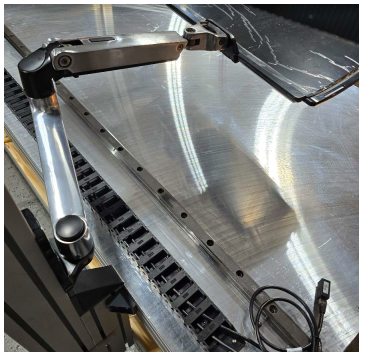
Place the keyboard stand on the mounting post.
|  |
1) Place the UPS and the speaker on the shelf and connect the power cables to the UPS from the TV, speaker, and arm. 2) Place the computer (not included with the table) on the shelf and connect it to the speakers, UPS, scan arm Ethernet cable, and TV HDMI cable. 3) Note: The UPS has a battery backup side and a surge protector side. Connect to the battery backup side. 4) Install the rubber mat on top. Double-sided carpet tape can hold the mat on the table, but it is not necessary. It will take a little time for the mat to relax and sit flat on the table. 5) The table is now complete. Use the provided leapfrog plate to move the arm between measurements. 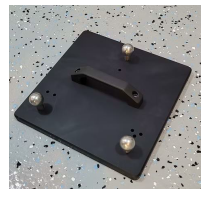 | 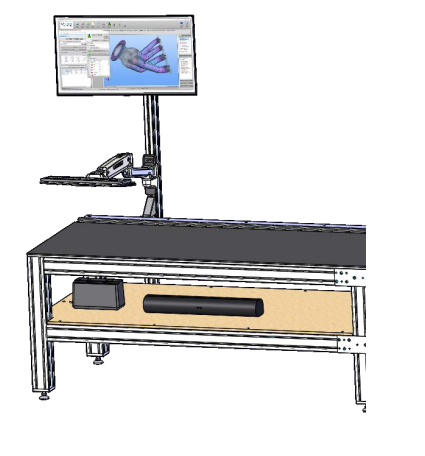 |
